
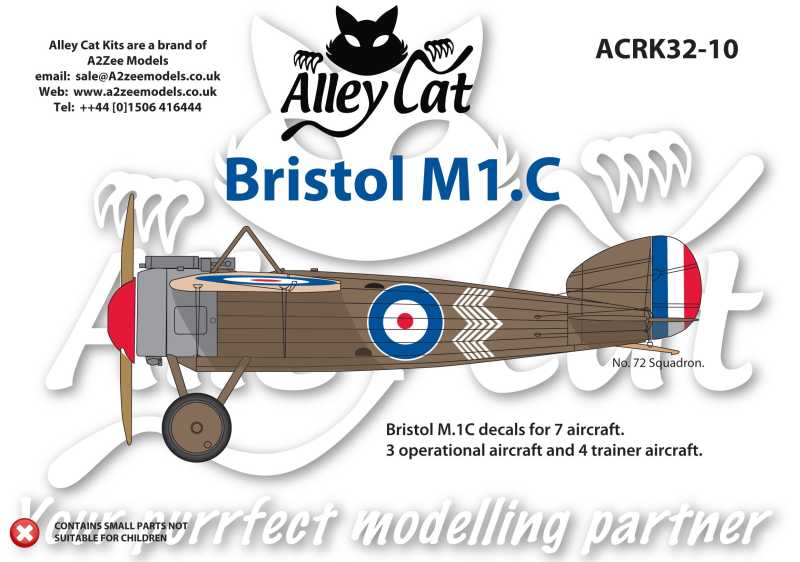
This is my first ever build of a resin kit. This is the newly released 1:32 scale
Bristol M1.c by Alley Cat Models sold through a2zeemodels. The kit is housed in a
very sturdy top opening box, parts are in five zip lock plastic bags. There is a
small fret of PE, a clear plastic windscreen, metal undercarriage struts and tail
skid, solid brass rod for the undercarriage axle and spreaders, 0.5mm plastic rod
for the engine push rods. The fuselage is in one piece so eliminates the join seam,
but being one piece makes it quite heavy, inside and outside detail is very good.
The wing ribs are very finely moulded as is the tail surfaces. Two seat are included
with one having the seat belts moulded with the seat. The decals are excellent and
come with a very good decal application sheet for the seven different schemes. Instructions
are one one page printed in B&W, there are no part numbers so reference to the drawings
is essential. All these photos show the kit as it arrived, no clean-


I have completed the cockpit. All parts went together extremely well and CA gives a very strong bond. Even though the kit supplied seats are good I opted for a wicker seat which is more in keeping with reference photos I have. I made the throttle quadrant from 0.5mm plastic card and brass tube, it is painted using Mr Metal Color Stainless then lightly buffed. The switch above the quadrant is made from brass rod sanded to shape then a 0.4mm hole drilled in the end, a short piece of 0.4mm brass tube is glued into the hole to act as the lever, I used off white to paint the switch and lever. I also made the pulsator using brass tube and copper wire. I made the pressure pump from brass tube of different sizes, it is held together with CA. The compass and instrument decals are from the 1:48 scale Airscale WW1 instrument decal set, a brilliant product. I also added control cables and bracing wires using 0.12mm monofilament painted with the stainless paint. The fuel tank is painted with gold leaf which I feel gives a good representation of brass. The cockpit is now ready to be fitted inside the one piece fuselage.


These three photos show the completed cockpit assembly. The instrument panel shows up well in these photos and highlights the wonderful Airscale decals. I have used all the kit supplied parts associated with this stage of assembly.


The cockpit assembly is fitted to the fuselage by sliding it in from the front, it is a perfect fit with no binding at all. The stringers inside the fuselage had to be coloured before the cockpit was fitted, as it is a one piece fuselage painting the stringers was out of the question, so I used an appropriate colour water colour pencil and drew over the stringers, a sharp point was needed on the pencil to ensure no colour went onto the linen interior. The linen was painted with an off white enamel.

As can be seen by this photo most of the interior detail is hidden by the cockpit coaming. There are two types of coaming supplied with the kit, this one is the version for the machine gun whilst there is another coaming for the trainer version of this aircraft, no machine gun but a small windscreen.


Reference photos show the elevator and rudder hinges being visible, so to simulate this I cut short lengths of 0.5mm brass tube and fixed them to the tail plane and rudder with equal spacing. Once the elevators are pushed into position a small gap is present and the hinges are visible, the same applies to the rudder when held up against the fin. CA holds the brass tubes very well to the resin parts.


The cockpit coaming fitted very well, only a very small amount of sanding was required to allow it to sit down correctly. I also fitted the engine cowl, this located extremely well within the fuselage and coaming and holds very firmly with CA. I needed to do a small amount of sanding where the cowl mated with the fuselage, there was a slight difference in size but it was only a minor issue and easily rectified. The fin has been installed to the rear of the fuselage, it has two very good locating pins and with CA it sits nice and firm. I used a 0.4mm drill bit to drill out the holes to take the rigging wires. As can be seen with these photos, the interior detail is all but hidden now that everything is closed up, by the time I fit the top rigging mast even less of the cockpit will be seen.


The undercarriage is now fitted, the metal struts are very well cast and were free
from any clean-


The two tail planes have been glued to the fuselage, this was done after the elevators were glued to the tail planes. As can be seen in the photos the 0.5mm brass tubes which I used as hinges works very well. These tubes give a good gluing surface and keeps the elevator slightly away from the tail plane which is what the reference photos show me. The PE elevator control horns are excellent, all I need to do was to drill a 0.5mm hole into the elevators at the appropriate locations then using CA glue the control horns in position, they are very strong once the glue has set.

The small wing rigging connectors and PE plates have been added to the top and bottom of the wings. These are a little difficult to fit mainly due to their size, the small rounded connectors need to have the insertion lug reduced in diameter to make it easier to insert into the holes in the wings, it also makes it easier to fit the PE plates. Once they are fitted into the holes in the wings a small drop of CA holds them well.


Aft of the cockpit has been painted with Humbrol No.11 Silver. This is excellent paint and sprays beautifully, but it does take a long time to dry. This colour scheme will depict aircraft C5019 an unarmed trainer, forward section of the fuselage will be black.


Front section of the fuselage and undercarriage has have been painted with Gunze Black, I used Tamiya masking tape to mask the demarcation line between the black and silver. The cockpit padding has been painted with Gunze cocoa brown.


Decals are now applied. I sprayed a coat of Humbrol clear varnish to give a good smooth gloss finish for decal application, the decals went on well, they are a little brittle but with the help of Mr Mark softer and a hair dryer they settled down beautifully. The rudder has been sprayed with Humbrol paints. Close examination will show the fuel pump which is hand made, it is mounted on the front undercarriage leg right side. The wheels have also been painted using Gunze black then Gunze dark grey for the tyres. The entire model will be sprayed with Humbrol Satin Clear.


Once the wings are sprayed with Humbrol Satin Clear they will be ready for fitment to the fuselage. The wing decals went on well and conformed to all shapes nicely, once the decals were patted down I used a hair dryer to heat the decals, this makes the decals really hug the surface.


The engine supplied with the kit is a little gem. The detail is excellent with well defined cylinder cooling fins and the top of the cylinders have beautiful rocker detail. The inlet manifolds fitted very well and have small locating pins to fit into the cylinders. The kit comes with a length of 0.5mm plastic rod to be cut and used for the push rods, this is perfectly okay but I decided to use 0.5mm brass tube, just my material of preference. Once painted the engine fits perfectly inside the cowling, I fixed the engine using five minute epoxy. This is such a nice engine it is a shame 95% of it will be hidden by the large spinner.


The wings went on extremely well and were very easy to fit. There are two good locating pins on each wing which mate well with the fuselage, because the wings are a little weighty I decided to use five minute epoxy. I applied the glue to the pins then along the wing roots, after the wings were butted up to the fuselage I propped up the wing tips to get the appropriate dihedral, I left the props there for at least four hours to make sure the glue had fully cured. When the props were removed the wing tips dropped just a fraction of an inch, the glue has done a fantastic job. I will spray the entire model with a satin clear coat then do the rigging.
The rigging on this model is only basic with double flying wires under the wings. I used 0.12mm mono and painted it with Mr Metal Color Stainless. I made very small connectors for the rigging to connect to the wings, for this I used 0.4mm brass tube with a single eyelet, the eyelet was twisted from 0.07mm wire around a 0.2mm drill bit, this was inserted into the brass tube and held with CA. I used two turnbuckles on the undercarriage rigging but as per photographic evidence there were no turnbuckles on the tail rigging. The entire model has been sprayed with a 50/50 mix of Humbrol Satin and Matt clear coat.
I thoroughly enjoyed building this kit, it was my fist ever resin kit and won’t be my last. The fit of parts was excellent and the quality of the mouldings and detail are very good, very little clean up was required to any of the parts. The added detail to the cockpit is essential, not a lot of it is seen but what can be seen is quite good and adds a lot to the appearance to the model. The addition of the fuel pump is also important, this is a prominent feature on this aeroplane and needs to be fitted.
I highly recommend this kit and look forward to seeing what Alley Cat will produce next in 1:32 scale WW1 aircraft kits.


 Index
Index